User guide
A walkthrough of the product, from your first sign-in to a merged pull request. Aimed at someone who has never used Issue to Code before.
Create your account
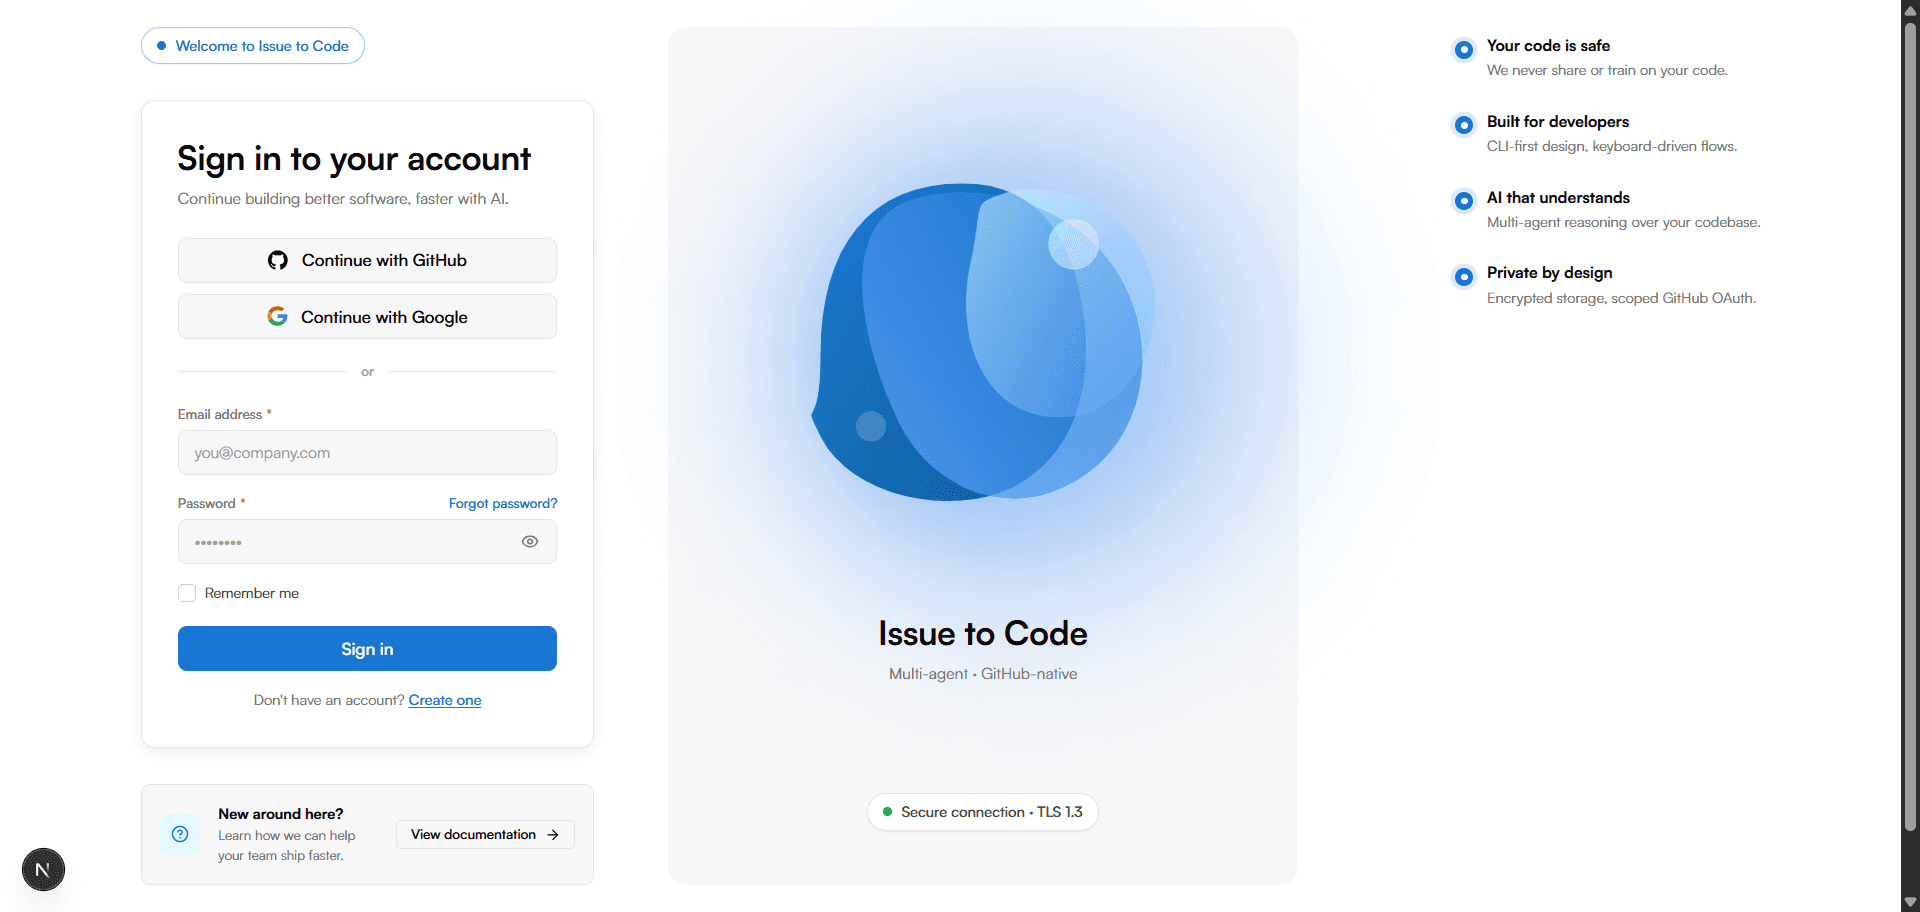
Open /login and choose one of the two paths:
- GitHub OAuth (recommended) — one click connects your account and brings over your GitHub identity. The same flow grants the OAuth scopes needed to index repositories and open pull requests later on.
- Email and password — useful if you want to register first and connect GitHub afterwards from
Settings.
Index your first repository
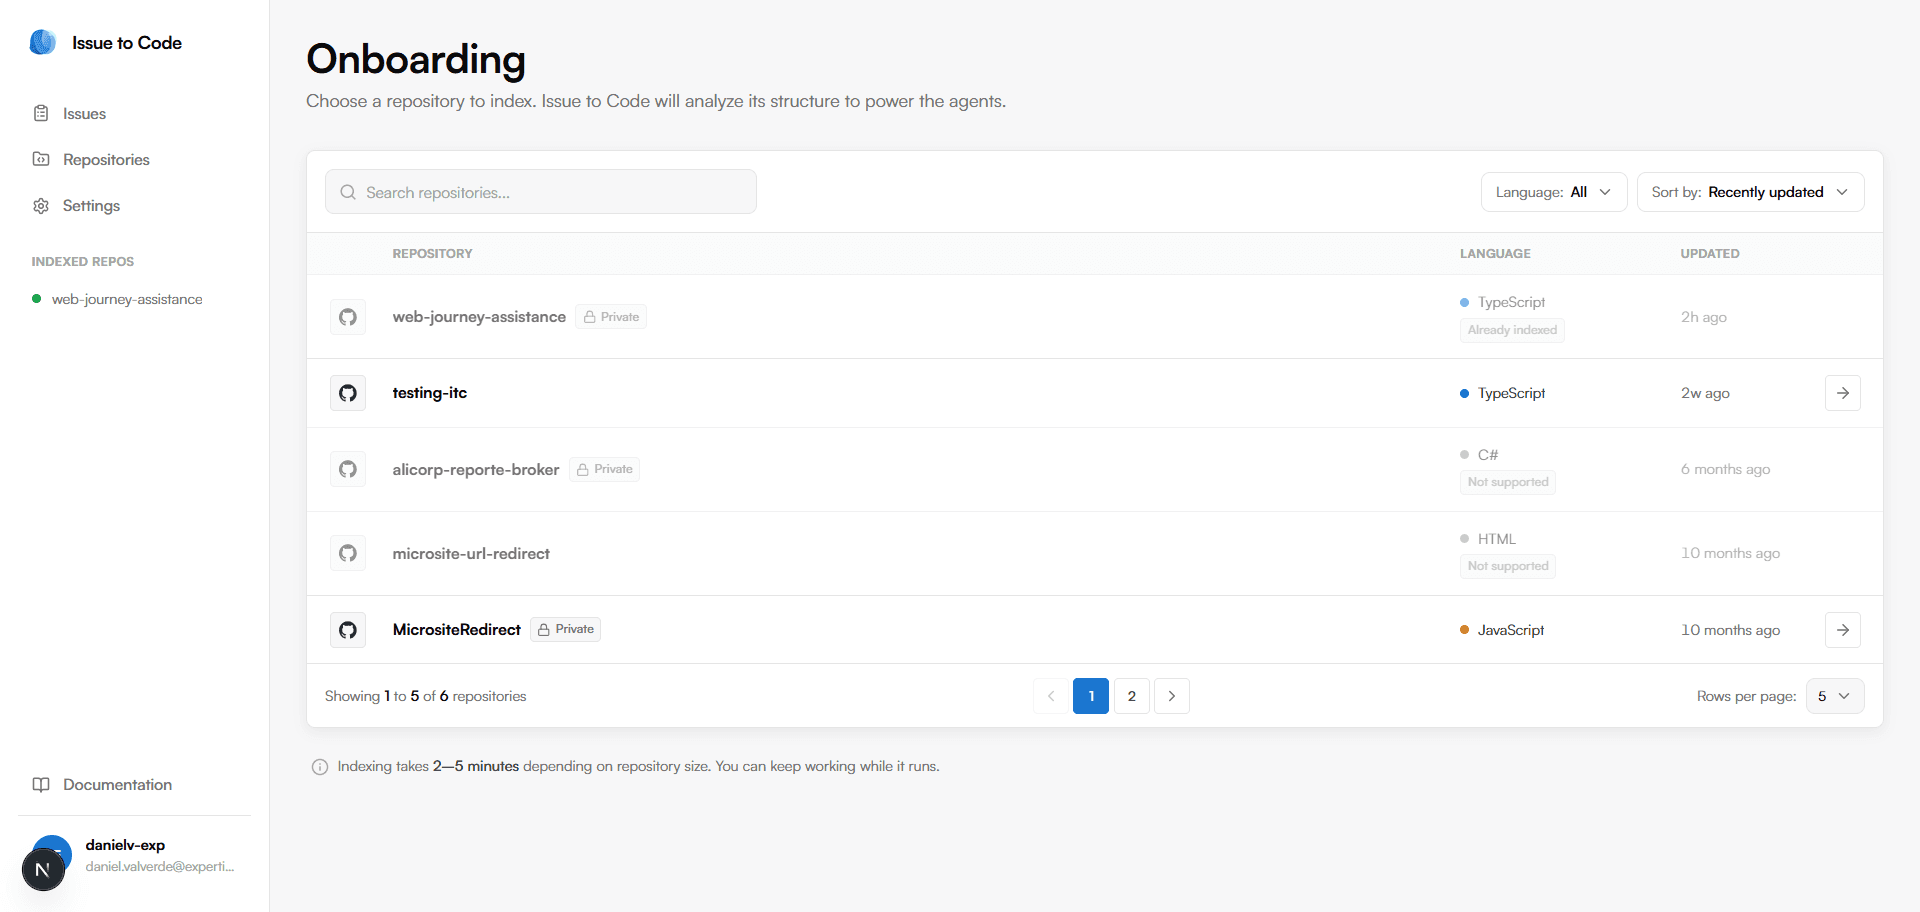
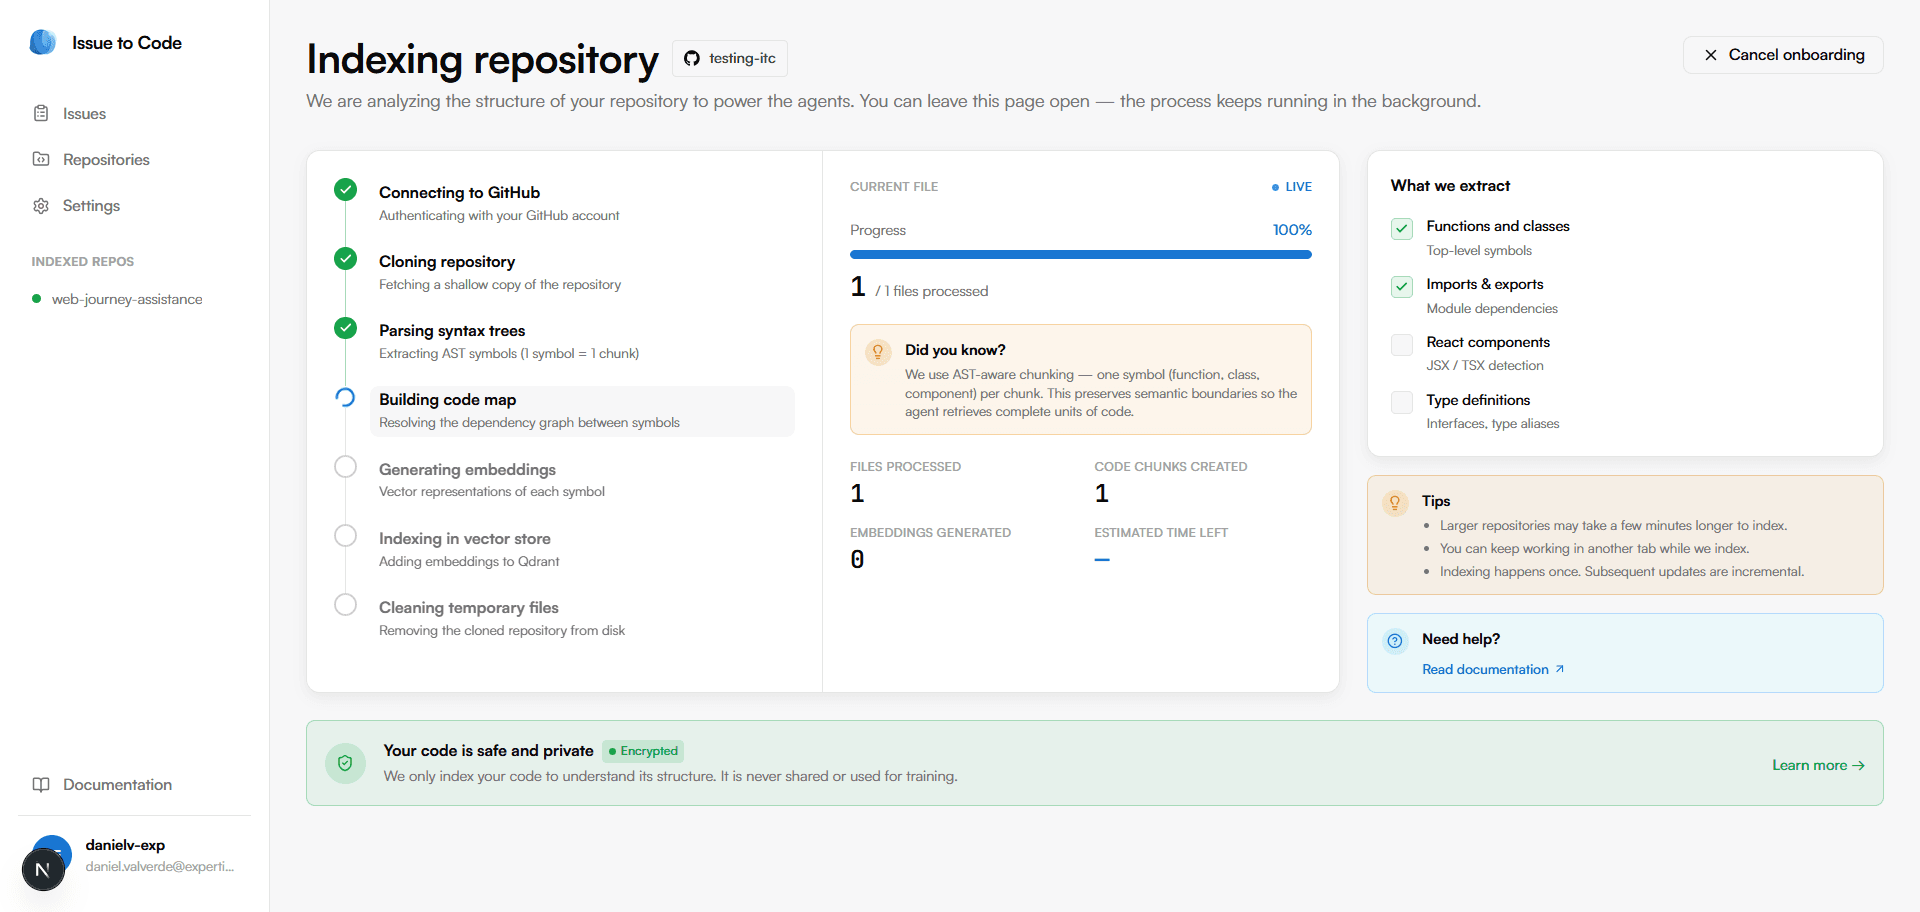
After signing in you land on the onboarding flow. Pick one of your GitHub repositories from the list and click Start indexing. The backend will:
- Clone the repo shallowly to a temporary directory.
- Parse every supported file with tree-sitter and extract symbols (functions, classes, components).
- Build the code map in Postgres and embed each symbol into Qdrant.
- Delete the clone — your source code is never persisted.
The indexing screen streams progress in real time. When it finishes you see the totals (files, symbols, edges) and the languages and frameworks detected.
Describe what you want changed
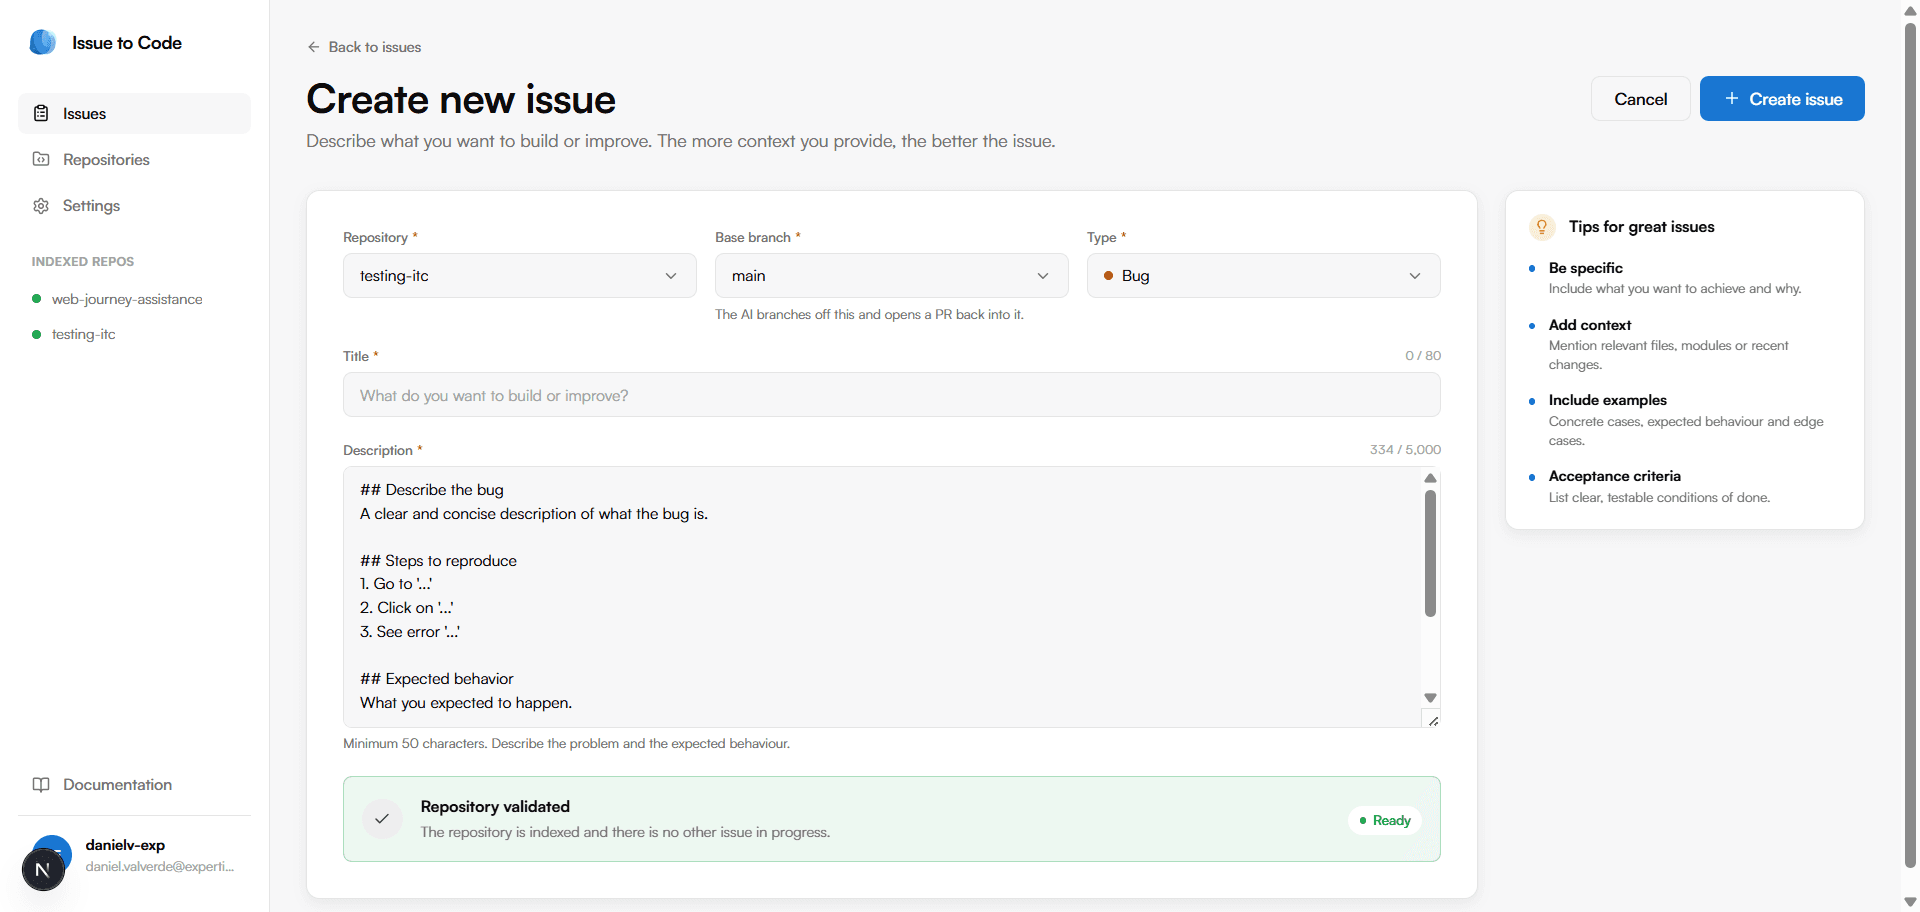
Open /issues/new. There are two ways to start an issue:
- From scratch — pick a repo, base branch and type (bug, feature or improvement). The description field is pre-filled with a template based on the type to help you write a useful spec.
- Import from GitHub— from the issues list, use the “Import from GitHub” banner to pull open issues from a connected repo. Imported issues land in
pendingand need to be started manually with the Run pipeline button from the issue detail.
The more specific your description, the better the plan. Acceptance criteria and known file paths help the Locator focus on the right part of the codebase.
Follow the agents in real time
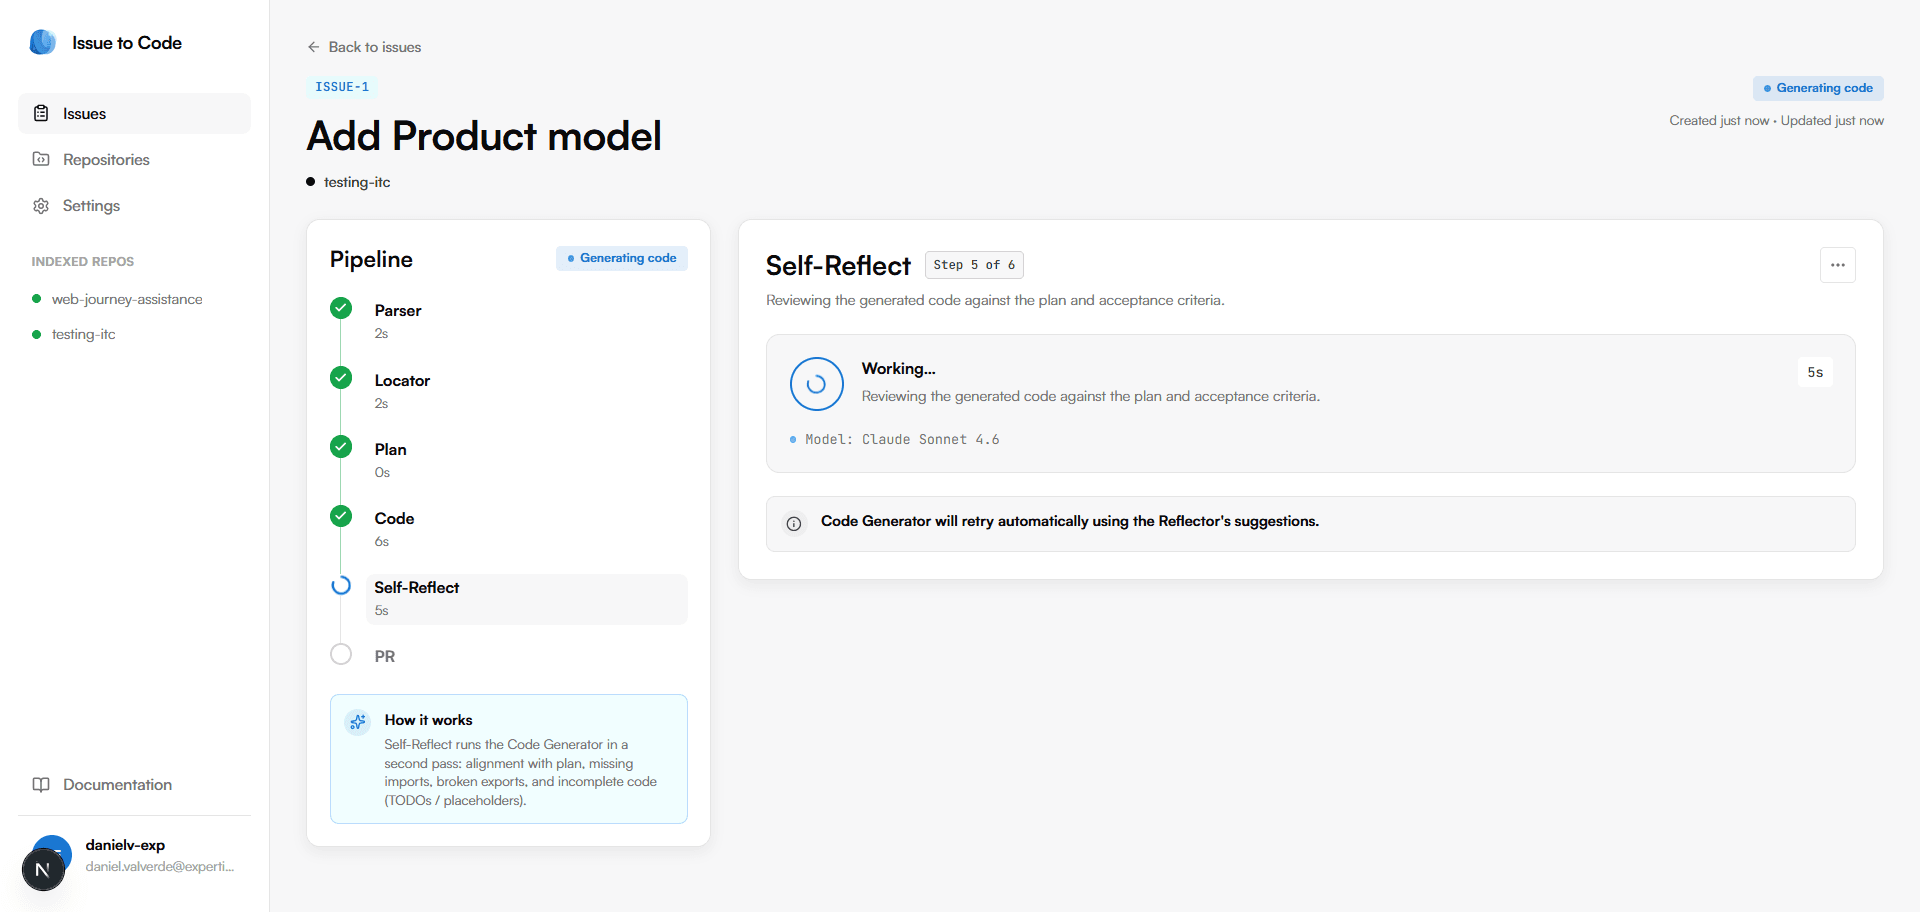
Once the issue is created (or its pipeline is started), the detail view streams the run live. The left panel shows the six visible steps with their elapsed times. Click any completed step to inspect what that agent produced.
- Parser — the extracted metadata (type, keywords, affected areas, summary).
- Locator — the ranked list of files the agent considered relevant.
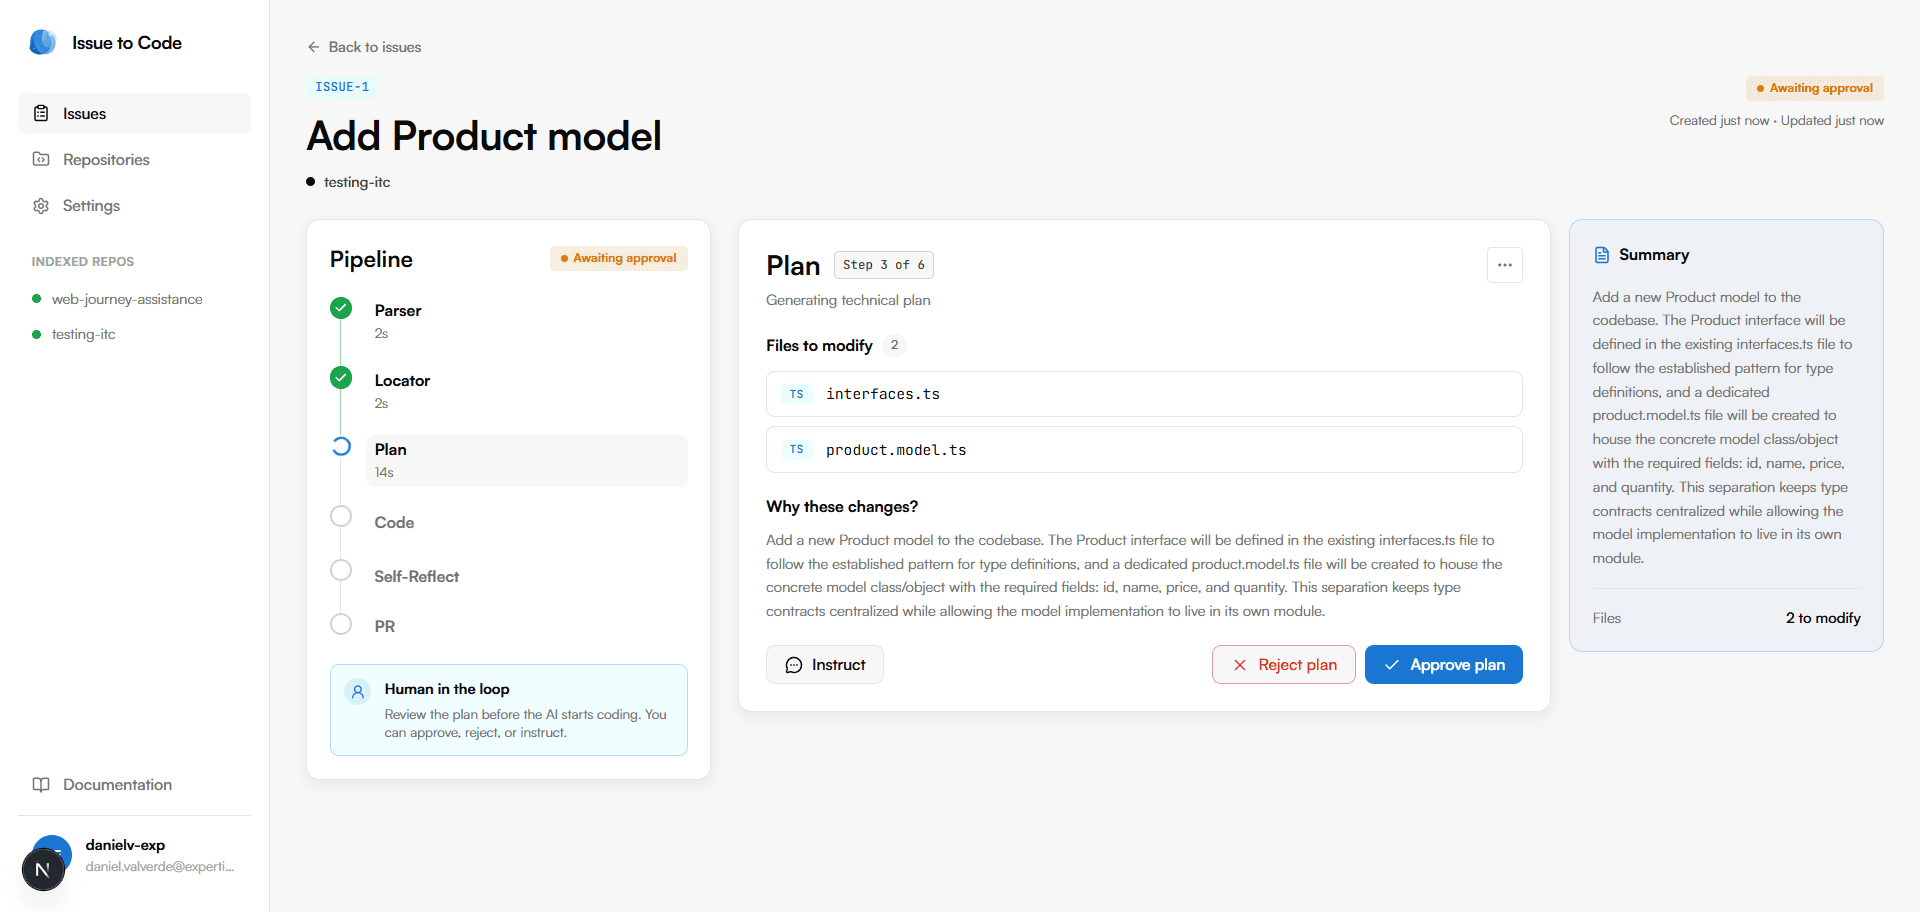
- Plan — the proposed step-by-step change. This is the step that pauses for your review.
- Code — the files being rewritten.
- Self-Reflect — the model reviewing its own output. May retry up to three times.
- PR — the pull request created on GitHub.
Review the plan
When the Plan step is ready the pipeline pauses on Awaiting approval. You have three choices:
- Approve — the agents proceed to code generation.
- Reject — the plan is discarded and a fresh one is generated. After three rejections in a row the issue is marked as
failed. - Instruct— reject and pass a free-text instruction to incorporate (for example: “use the existing
useToasthook instead of a new one”). The agent regenerates the plan with that guidance.
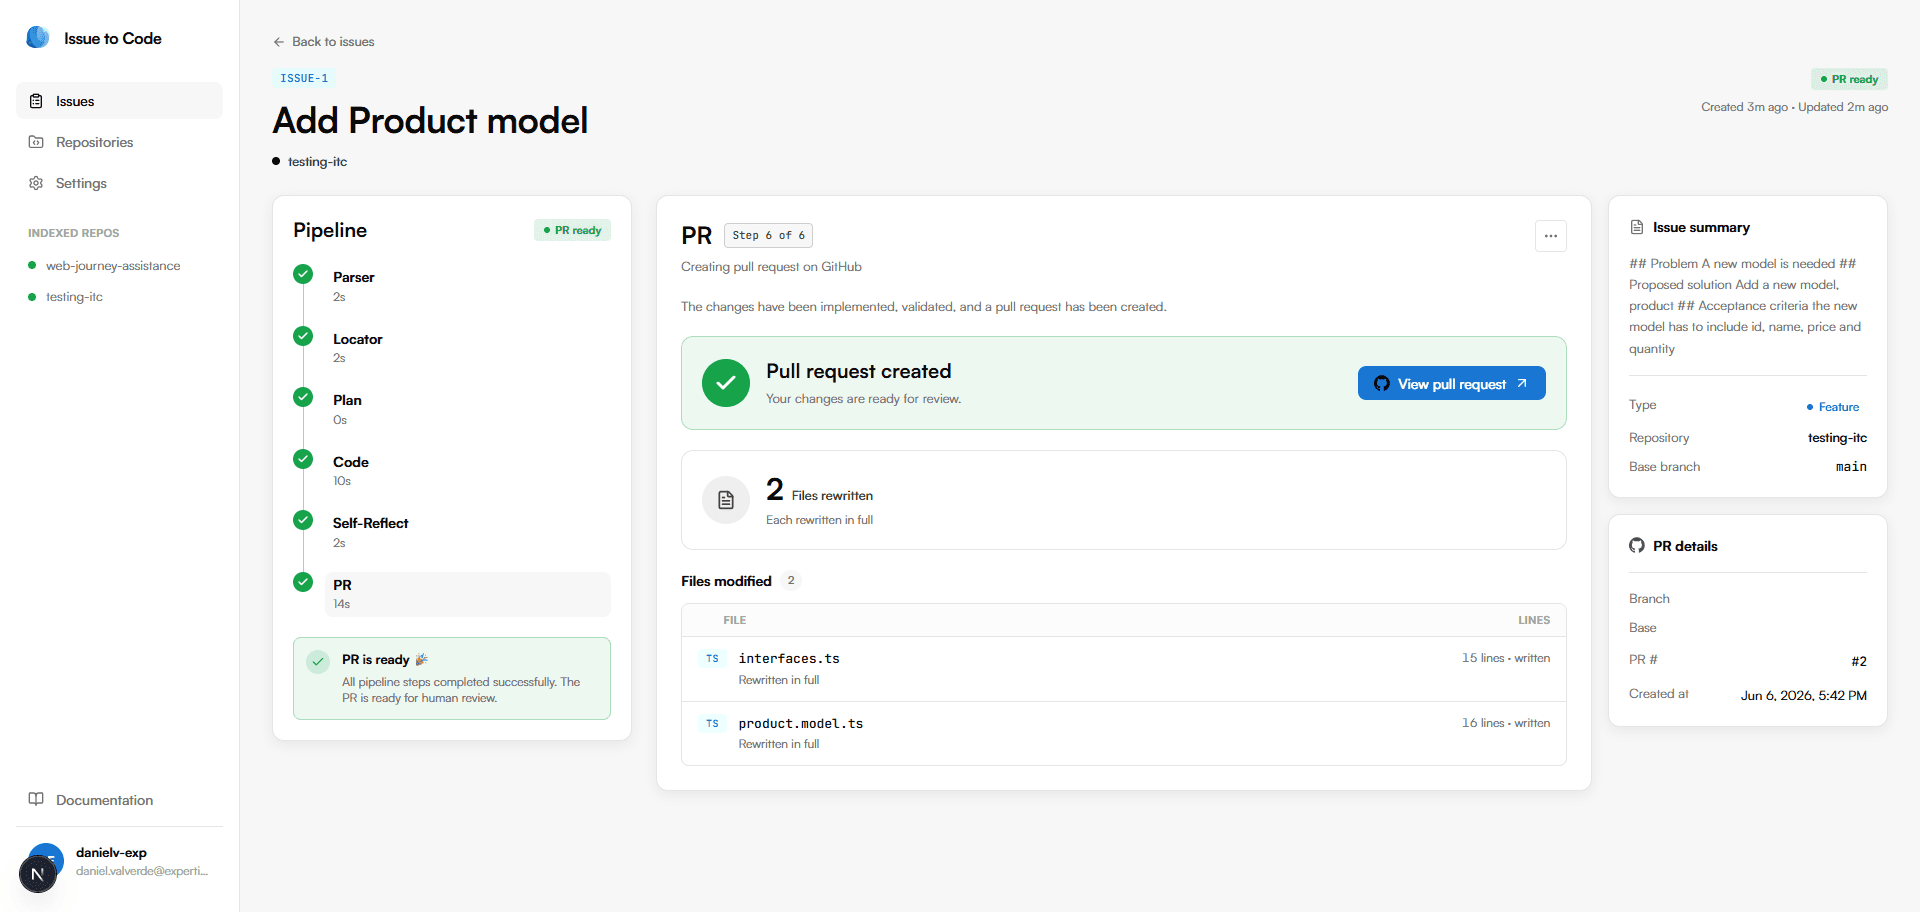
The pull request is ready
When all steps complete the issue is marked as PR ready. The PR step shows the URL of the pull request on GitHub, the branch name, the PR number and the list of files that were rewritten. From here you can click View pull request to jump to GitHub.
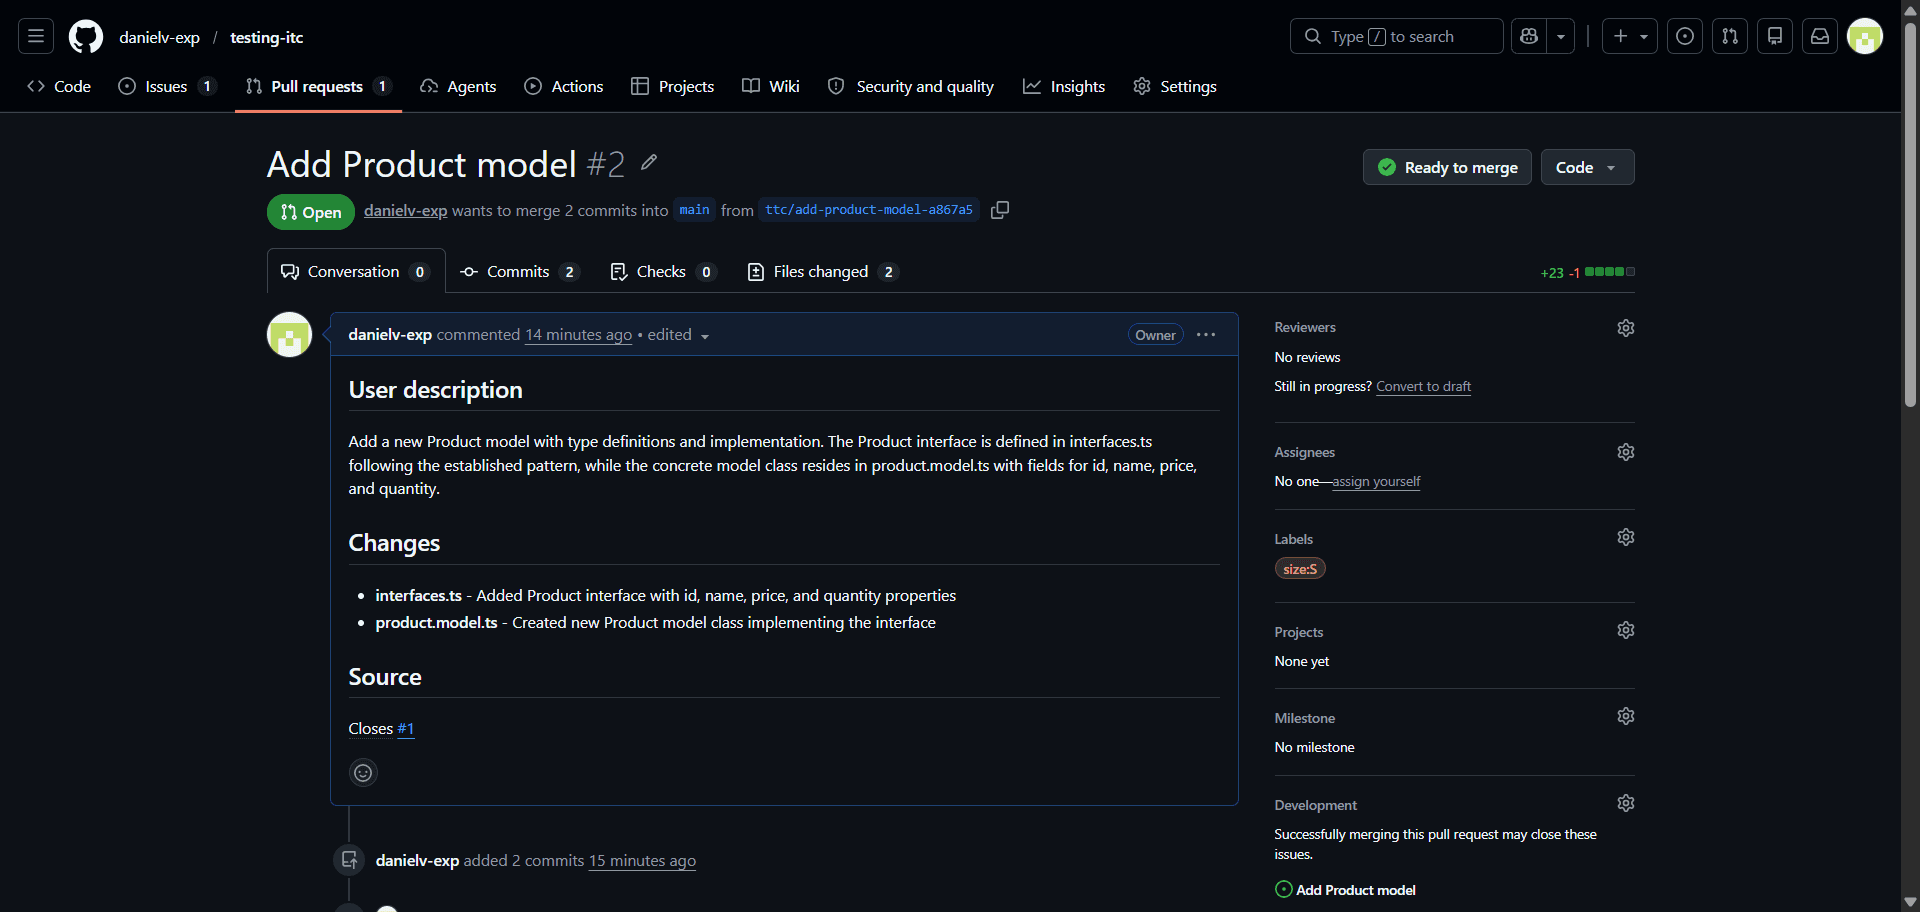
Review and merge the pull request
Clicking View pull request opens the PR directly on GitHub. The branch is named ttc/{issue-slug}-{6-hex} and the base branch is whichever you chose when creating the issue.
The PR description includes:
- A one or two sentence summary of what the PR does.
- A
Changessection listing every file rewritten with a short note on what changed in it. - A
Sourceline linking back to the originating issue in this app.
You are responsible for reviewing the PR before merging.The Self-Reflector checks for plan alignment, missing imports, broken exports and incomplete code (TODOs, placeholders), but it does not replace human code review. Treat the agents' output the same way you would treat a pull request from a junior teammate: read it, run it locally if needed, and leave comments on GitHub before merging.
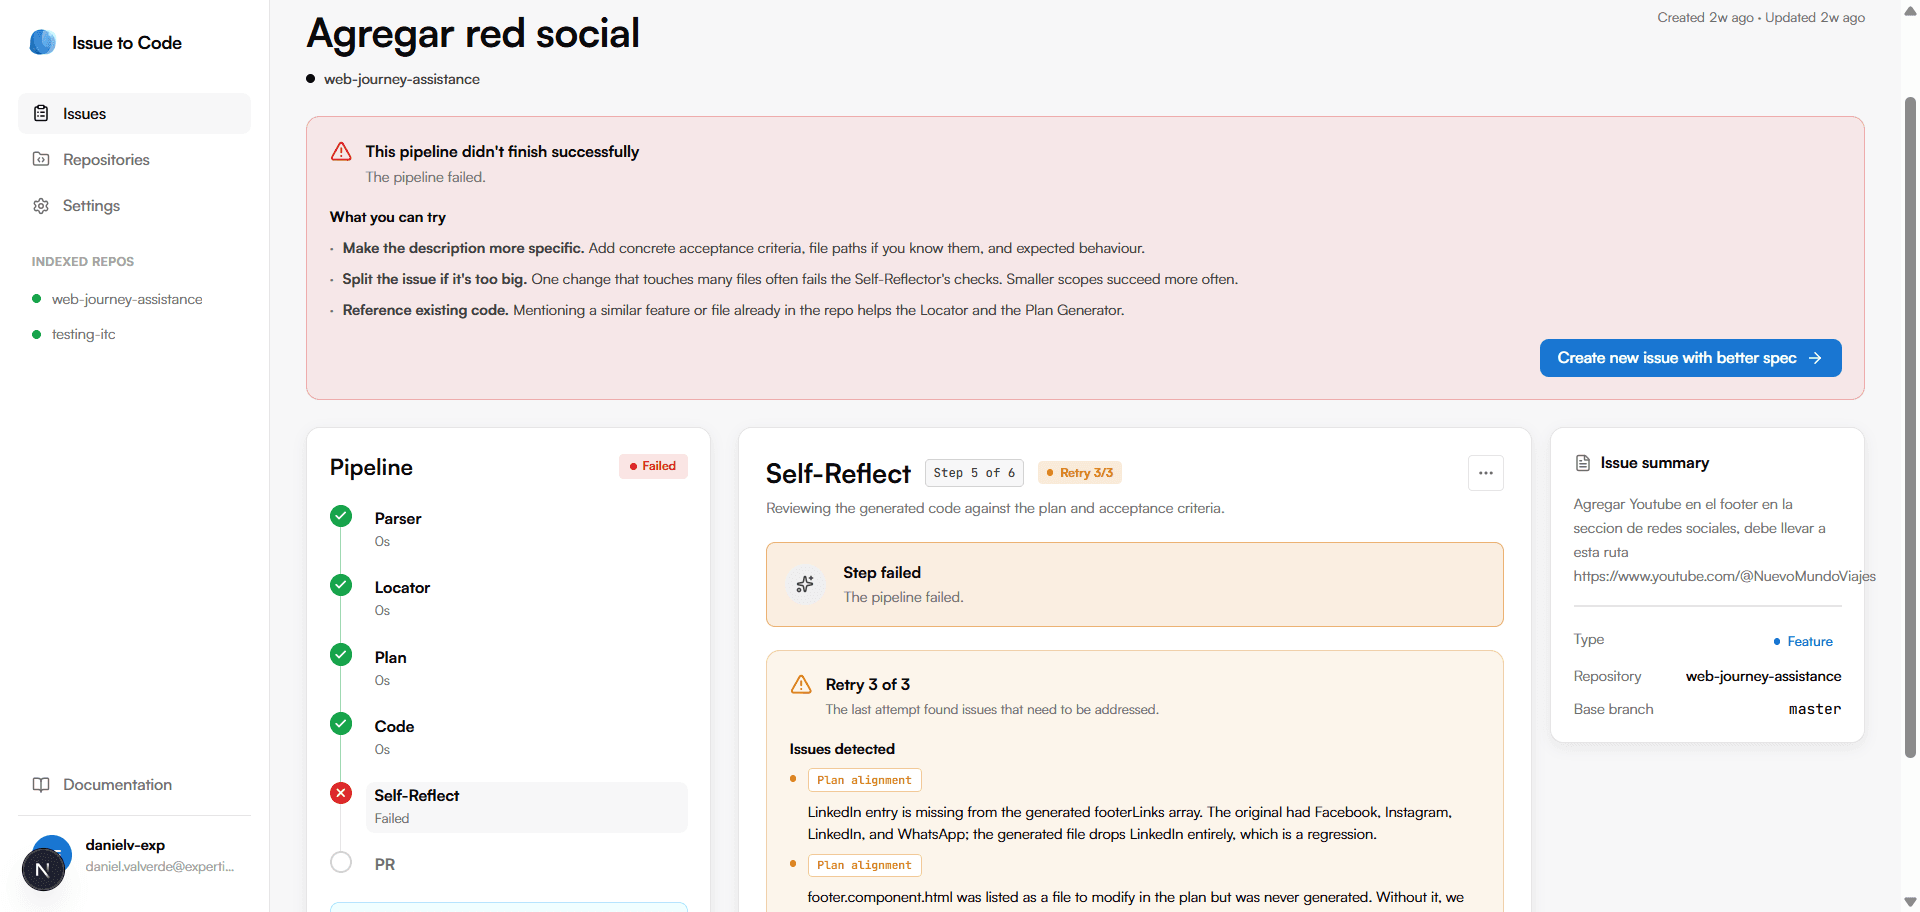
If the pipeline fails
A pipeline can end in failed for two reasons:
- The plan was rejected three times — the issue is too ambiguous or you and the agent are not converging.
- The Self-Reflector exhausted its retries — the generated code keeps failing the alignment checks.
The detail view shows an actionable card with suggestions (refine the spec, split the issue into smaller pieces, reference existing code) and a shortcut to create a fresh issue pre-filled with the previous attempt's description.
Other things you can do
- Cancel an active job from the issue actions menu. The issue stays in the table marked as
cancelled. - Delete an issue permanently once it is in a terminal state. The pull request on GitHub stays intact.
- Re-index or delete a repository from
/repositories. Deleting a repository cascades into its issues. - Disconnect GitHub from
/settings. The encrypted access token is removed and you can reconnect at any time.